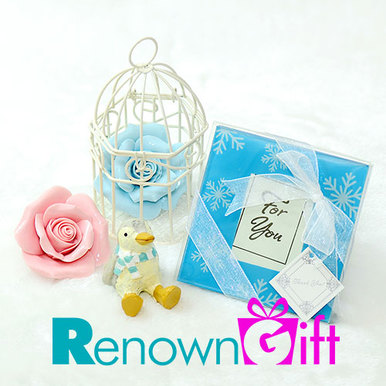
For an easy and low cost craft project, consider making some customized drink coasters that feature a mosaic design. The following article provides instructions on how to make your own drink coasters.

First: The equipment
You should first buy and gather all of your equipment. You need medium grade sandpaper, glue, wood stain or polyurethane, mosaic pieces, tile adhesive and grout. You also need 4 x 5 inch picture frames and 4 x 5 inch squares of wood.
Second: The tools
You also need to have certain tools ready before beginning your project. Make sure you have protective eye wear, a paintbrush, hammer, trowel and level. While the level is optional to the project, it can make your measurements easier.
Third: The canvas
Remove the backing material and the glass from the picture frames before beginning. Cut a piece of plywood to match the frame. Sand until smooth, and then fit to the back of the frame; this is the backing for the coaster and where you place your new mosaic design. Using polyurethane or wood stain, apply your finish now before inserting the mosaic design. Make sure the frame has dried completely.
Fourth: The mosaic
Break larger chunks of your mosaic pieces by placing them in a sturdy paper bag and smashing them with a hammer. When you have gotten enough pieces in the right size, begin to arrange them into a pattern. Once you have decided how you should place the pieces in the frame, trowel the tile adhesive in to space in the frame. Spread them as evenly as possible so that the finished coaster is level. Press each piece into the adhesive.
Fifth: The finish
Allow your project to dry overnight. After the mosaic pieces are fixed in place, cover them with grout to fill the spaces between the pieces and to even out the top surface. When complete, allow the grout to set for a full 24 hours before using the coaster.
If you have no idea or lazy to make your own coaster, you can also direct order from us. Check out all the coasters that provided by us from our online store:

